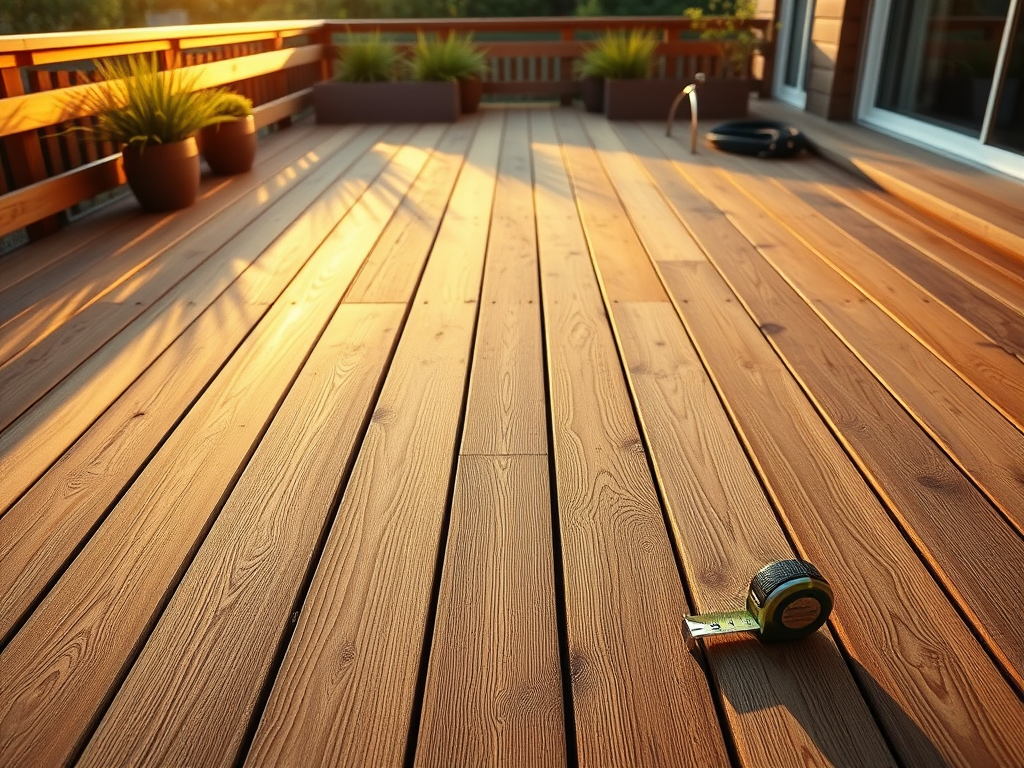
Start with the layout and materials
- measure the deck carefully
- sketch the board direction before installation starts
- choose the decking material based on both appearance and maintenance expectations
- use the deck calculator to estimate decking and screws before you buy
Choose a board pattern
- Straight parallel layout: the most common and straightforward option
- Diagonal layout: more visually active, but it usually creates more waste and extra cutting
- Herringbone or other pattern layouts: more decorative, but also more advanced to install
- Picture-frame border: useful when you want a cleaner edge detail around the deck
Leave proper spacing between boards
- allow a gap for drainage and airflow
- remember that wood moves with moisture and temperature
- use spacers if you want a more even finished result
Choose the fastening method
- Visible screws: common, practical, and cost-effective
- Hidden fasteners: cleaner look, but the system needs to match the board type
- Good screw placement: helps reduce splitting and gives the deck a more consistent look
A few practical installation tips
- start from a straight reference line
- check alignment as you go
- predrill where the board ends are at higher risk of splitting
- finish exposed edges cleanly so the deck looks intentional, not patched together
Finish the boards after installation if needed
Oil, stain, or another finish can help protect the surface depending on the material you chose. That final step also affects how polished the deck feels once it is in use.