Start with the main supports
- Prepare the foundation first: make sure the footings or supports are stable and level before you install framing members.
- Measure and cut carefully: good framing starts with accurate lengths and a clear layout.
- Use proper connectors and fasteners: beams and framing members should be attached securely and checked for level as you go.
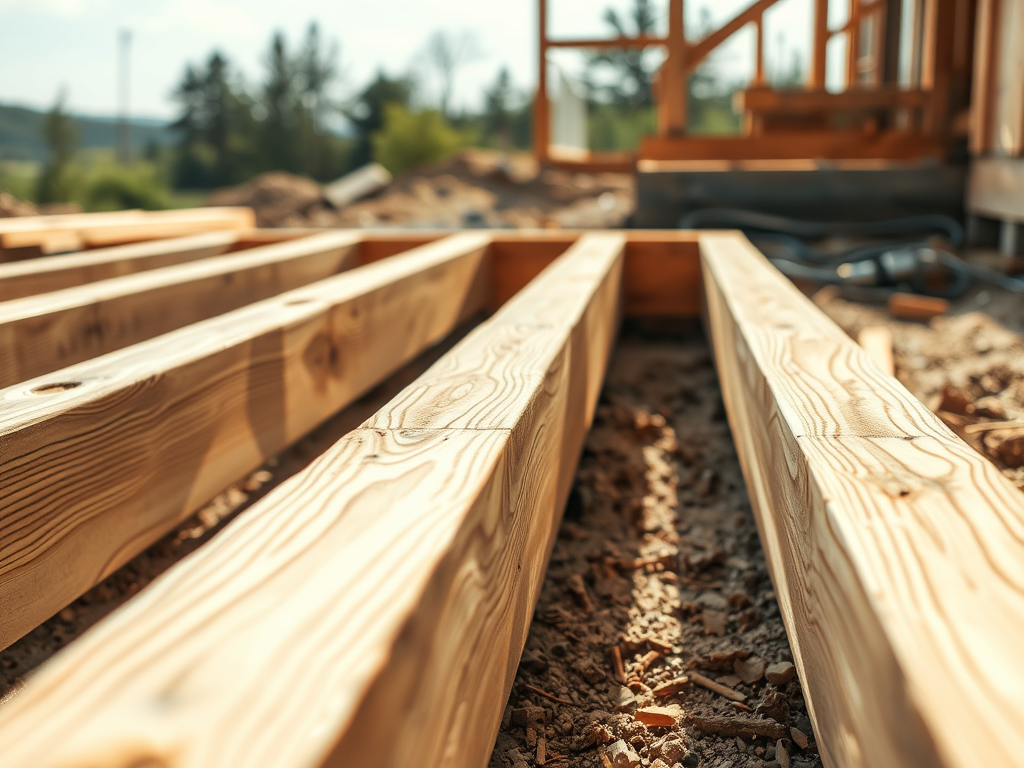
Install the joists
- Choose the joist spacing based on the decking: for many common wood deck boards, a starting point in the 16 to 24 inch on-center range may be workable depending on the board and the manufacturer guidance.
- Fasten each joist properly: the framing should stay straight, level, and well tied into the main supports.
- Add support where needed: larger decks or heavier load areas may need extra framing or doubled members.
Check the framing before you move on
- Verify level across the whole layout
- Walk the frame and look for movement
- Fix any alignment problems before the deck boards go down
Small details that improve durability
- Use outdoor-rated material
- Protect the top of the joists from moisture where appropriate
- Make sure the structure can dry out properly underneath
Use the deck calculator early
Framing decisions affect how much decking and how many screws you are likely to need. Use the deck calculator as a planning baseline before you order the deck surface materials.